프리펩을 이용해 플레이어의 총알을 구현합니다.
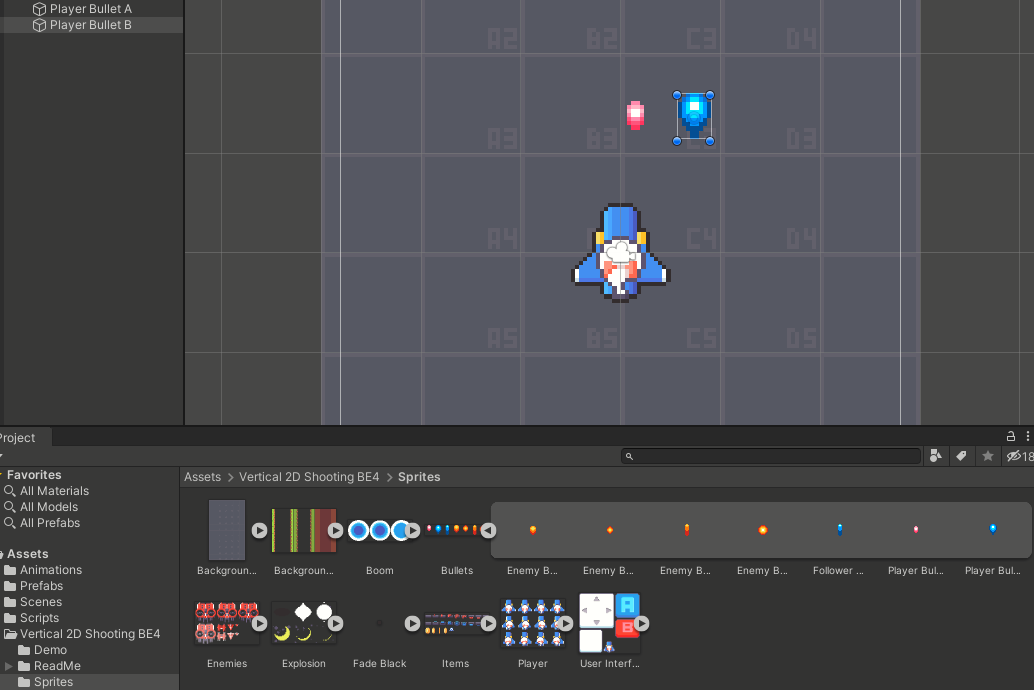
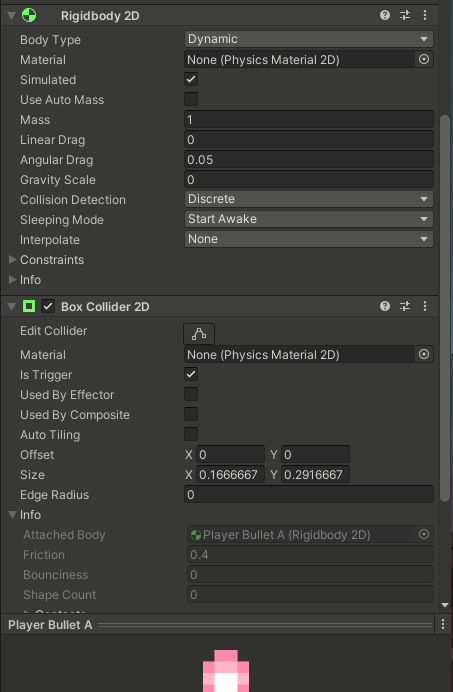
프로젝트의 스프라이트 이미지를 이용, 드래그 앤 드랍으로 총알 오브젝트를 만들어줍니다. 이어서 각각의 오브젝트에 필요한 컴포넌트를 넣어줍니다. 총알의 Gravity Scale 0 꼭 입력해주세요.
앞으로 총알 오브젝트를 쓸일이 아주 많기 때문에, 프리펩을 만들어 놓겠습니다.
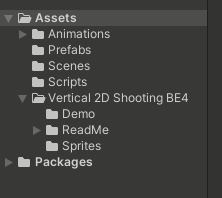
프로젝트에서 마우스 우클릭으로 빈 폴더를 하나 만들어 줍니다.
Hierarchy의 두 총알 오브젝트를 Prefabs 폴더에 드래그 앤 드랍 해줍니다.
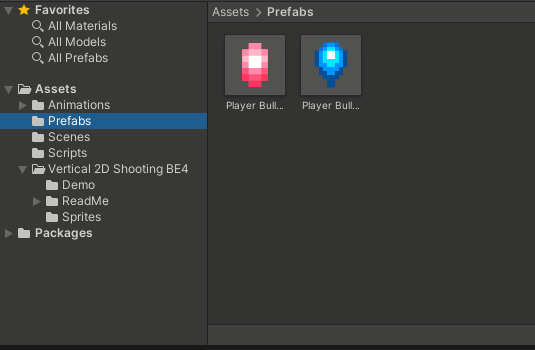
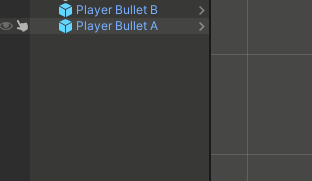
그렇게 되면 자동으로 프리펩이 만들어지면서 하이라키(Hierarchy)에 두 총알 오브젝트가 파란색으로 바뀌게 됩니다. 이는 프리펩 오브젝트임을 알려주는 표시입니다. 이제 총알이 필요할때마다 프리펩에 저장된 총알 오브젝트를 불러내기만 하면 됩니다.
다음으로, 총알을 삭제하는 코드를 작성해보겠습니다. 플레이어가 쏜 총알이 맵 밖으로 나갔음에도 삭제되지 않는다면, 사양이나 최적화 등에서 여러 문제를 일으킬 수 있습니다.
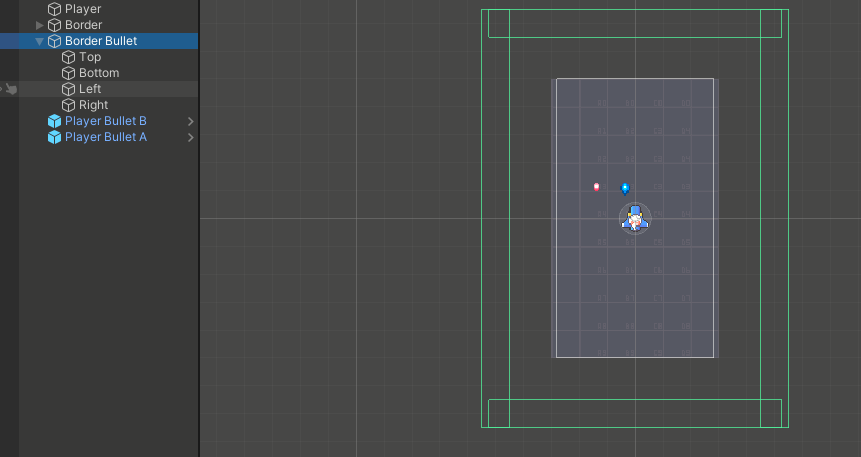
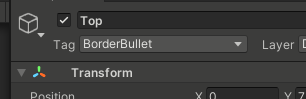
먼저, Border 오브젝트를 복사해 간격을 더 띄워서 BorderBullet 오브젝트를 만들어줍니다. onTriggerEnter2D를 이용해 코드를 작성할 것이기 때문에, BorderBullet 안 4개 오브젝트에 isTrigger가 체크되어 있어야합니다. 또한, 태그를 새로 만들어 BorderBullet으로 지정해 줍니다.
Bullet 스크립트를 하나 만들어 두 프리펩에 넣어준 뒤, 아래 코드를 작성합니다.

    void OnTriggerEnter2D(Collider2D collision)
    {
        if (collision.gameObject.tag == "BorderBullet") {
            Destroy(gameObject); //Destroy() : 매개변수 오브젝트를 삭제하는 함수입니다.
        }
    }
저장 후 Scene에서 마우스로 총알을 끌어 확인해보면 총알이 삭제되는 것을 볼 수 있습니다.
이제 총알 오브젝트를 하이라키에서 삭제하고, 로직을 통해 총알이 나가도록 해보겠습니다.
   //Vars
   public float maxShotDelay;
    public float curShotDelay;
    //Prefabs
    public GameObject bulletObjA;
    public GameObject bulletObjB;

    void Update()
    {
        move();
        fire();
        reload();
    }

    void fire() {
        if (!Input.GetButton("Fire1")) { //마우스 왼쪽 버튼이 눌리지 않았다면
            return;
        }
        if (curShotDelay < maxShotDelay) { //재장전 시간이 충분치 않다면
            return;
        }
        switch (power) { //power 변수 값에 따라 총알 레벨 조절
            case 1: //1발
                GameObject bullet = Instantiate(bulletObjA, transform.position + new Vector3(0, 0.7f, 0), transform.rotation);
                Rigidbody2D rigid = bullet.GetComponent<Rigidbody2D>();
                rigid.AddForce(Vector2.up * 10, ForceMode2D.Impulse);
                break;
            case 2: //2발
                GameObject bulletR = Instantiate(bulletObjA, transform.position  + new Vector3(0.1f, 0.7f, 0), transform.rotation);
                GameObject bulletL = Instantiate(bulletObjA, transform.position + new Vector3(-0.1f, 0.7f, 0), transform.rotation);
                Rigidbody2D rigidR = bulletR.GetComponent<Rigidbody2D>();
                Rigidbody2D rigidL = bulletL.GetComponent<Rigidbody2D>();
                rigidR.AddForce(Vector2.up * 10, ForceMode2D.Impulse);
                rigidL.AddForce(Vector2.up * 10, ForceMode2D.Impulse);
                break;
            case 3: //3발
                GameObject bulletRR = Instantiate(bulletObjA, transform.position + new Vector3(0.3f, 0.7f, 0), transform.rotation);
                GameObject bulletLL = Instantiate(bulletObjA, transform.position + new Vector3(-0.3f, 0.7f, 0), transform.rotation);
                GameObject bulletCC= Instantiate(bulletObjB, transform.position + new Vector3(0, 0.7f, 0), transform.rotation);
                Rigidbody2D rigidRR = bulletRR.GetComponent<Rigidbody2D>();
                Rigidbody2D rigidLL = bulletLL.GetComponent<Rigidbody2D>();
                Rigidbody2D rigidCC = bulletCC.GetComponent<Rigidbody2D>();
                rigidRR.AddForce(Vector2.up * 10, ForceMode2D.Impulse);
                rigidLL.AddForce(Vector2.up * 10, ForceMode2D.Impulse);
                rigidCC.AddForce(Vector2.up * 10, ForceMode2D.Impulse);
                break;
        }
        curShotDelay = 0;
    }

    void reload() {
        curShotDelay += Time.deltaTime; //시간 값 더하기
    }
Instantiate() : 매개변수 오브젝트를 생성
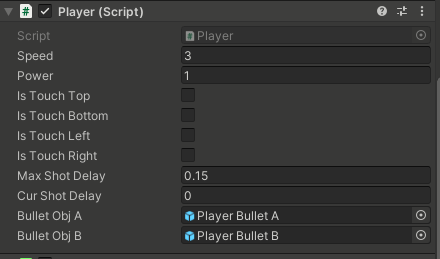
두 프리펩을 반드시 스크립트에 맵핑해야 Instantiate를 사용할 수 있습니다.
결과
'종스크롤 슈팅게임(1942)' 카테고리의 다른 글
| 6. 아이템과 필살기 구현하기 (0) | 2022.01.20 |
|---|---|
| 5. 간단한 UI 만들기 (0) | 2022.01.19 |
| 4. 적 전투기 총알 & 플레이어 피격 이벤트 구현 (0) | 2022.01.18 |
| 3. 적 전투기 만들기 (0) | 2022.01.18 |
| 1. 플레이어 이동 & 맵 경계선 설정 (0) | 2022.01.17 |


